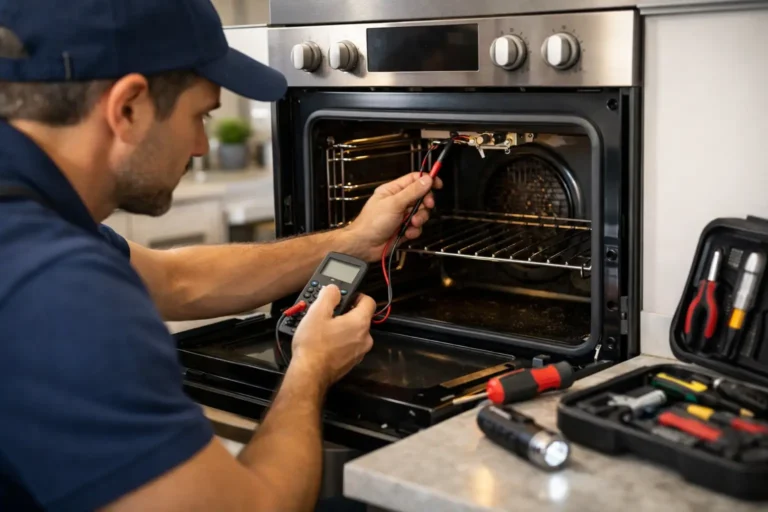
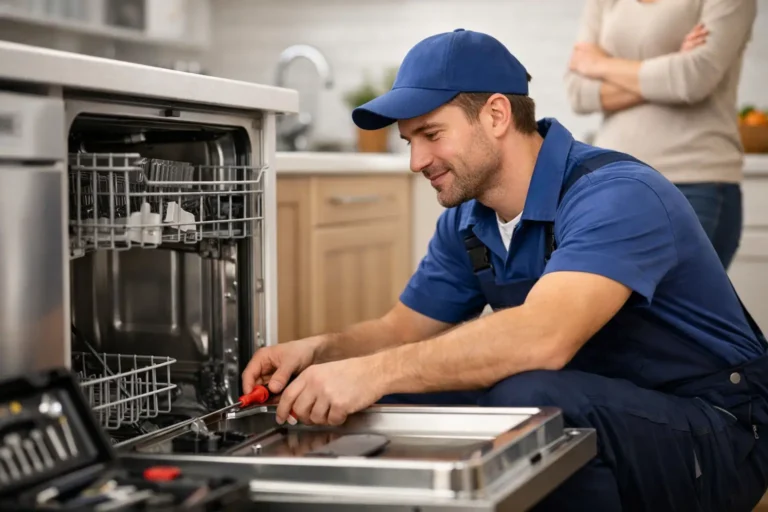
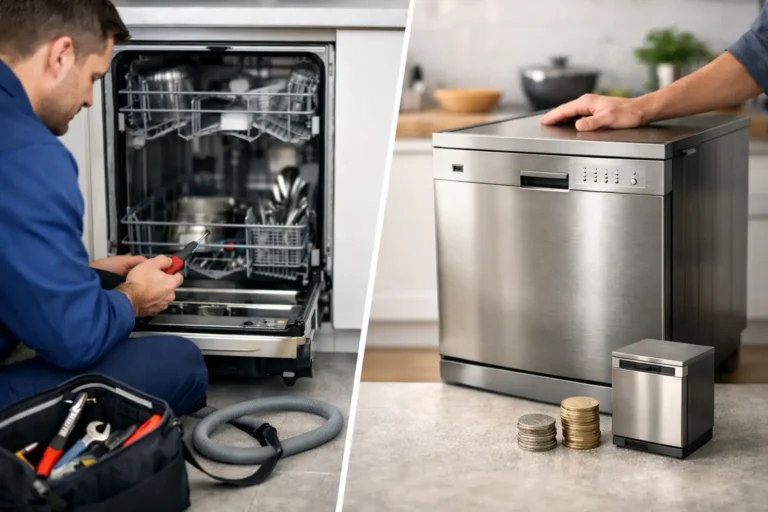
A puddle beneath the dishwasher is rarely a problem to ignore until the weekend. Water can reach kitchen units, flooring and electrical connections quickly, particularly with an integrated machine where a leak may stay hidden behind the plinth. Knowing how to fix dishwasher leaks starts with finding where the water is actually coming from, rather than replacing parts on guesswork.
Before investigating, switch the dishwasher off at the mains and turn off its water supply valve. Mop up standing water, then avoid running another full cycle until you have checked the obvious causes. If water has reached a socket, extension lead or the appliance’s electrical connection, do not touch it – arrange a professional inspection.
Find the source before attempting a dishwasher leak fix
Dishwasher leaks tend to leave clues. Water at the front of the machine often points to the door, seal or detergent. Water at the back is more likely to be an inlet or drain hose connection. A leak underneath can involve the pump, sump, internal hosework or a split component that needs access from below.
Dry the floor and the visible parts of the dishwasher thoroughly. Put a few sheets of kitchen roll under the front, rear and sides, then run a short rinse programme while watching from a safe distance. Do not remove panels or reach behind the appliance while it is connected to power.
The timing matters too. A leak as soon as the programme begins may be linked to the water inlet. One that appears while the machine drains can indicate a drain hose or pump issue. Water escaping during the wash phase is commonly related to the door seal, spray arms or excessive foam.
Check the door seal and door alignment
The rubber seal around the dishwasher opening is one of the first places to inspect. Food debris, grease, limescale and a small piece of broken glass can stop the door from sealing evenly. Wipe the full seal with a soft damp cloth and check its lower edge carefully, where grime tends to collect.
Look for tears, flattened sections, hardened rubber or a seal pulling away from its channel. A damaged seal should be replaced rather than patched. Adhesives and temporary sealants rarely hold under heat and detergent, and may make a proper repair more difficult.
Also check that baskets are fully inside the machine and that no large plate, pan handle or utensil is obstructing the door. If the door has dropped, feels loose or needs force to close, the hinges or latch may be worn. A misaligned door can leak even when the seal looks intact, so it is worth having the hinge and catch mechanism assessed rather than simply fitting a new gasket.
Do not overlook detergent and rinse aid
Too much detergent, washing-up liquid added by mistake, or a rinse-aid dispenser set too high can create heavy foam. Foam pushes past the door seal and often looks like a major leak, although the dishwasher itself may be mechanically sound.
If this has happened, stop the programme, remove as much foam as possible and run one or two short rinses with no detergent. Check the rinse-aid cap is closed securely and reduce its setting if excess suds return. Only use detergent designed for dishwashers – ordinary washing-up liquid is not a substitute.
Inspect spray arms and the dishwasher level
A cracked or blocked spray arm can direct a strong jet of water towards the door instead of distributing it around the tub. Remove the lower basket and examine the spray arm for splits, loose end caps and blocked holes. It should rotate freely without catching on a tall dish or misplaced cutlery.
If the machine has recently been moved, installed or had flooring replaced nearby, check that it is level. A dishwasher that tilts too far forwards can put more water pressure against the door. Adjusting the feet may resolve a minor front leak, but take care with integrated units: changing the height can affect the cabinet door alignment and plinth fit.
Check the filter, drain hose and plumbing connections
A blocked filter does not always cause a leak, but it can contribute to poor draining and water backing up in the base of the machine. Remove the lower rack, take out the filter assembly according to the appliance instructions and rinse away food residue. Check the filter is refitted and locked correctly, as an incorrectly seated filter can affect water flow.
Next, inspect the drain hose where it joins the sink waste pipe or plumbing connection. Look for a loose clip, perished hose, split plastic or a connection that has worked free. The hose should not be crushed behind the dishwasher or bent sharply, as a kink can restrict drainage and strain the connection.
The drain hose needs a correctly positioned high loop beneath the worktop, unless the installation uses another approved anti-siphon arrangement. Without it, dirty sink water may flow back towards the dishwasher. This does not necessarily create a floor leak, but it can cause drainage faults and unpleasant water in the tub.
At the rear of the appliance, check the inlet hose and the water supply connection for moisture. A slow drip around a threaded joint may only appear when water is entering the dishwasher. Do not overtighten plastic fittings, as this can crack them. If a washer is worn or a hose is damaged, replace the relevant part with a compatible component.
When water is coming from underneath
A leak from the underside is less suitable for DIY repair. Internal circulation pumps, drain pumps, hoses, tubs and seals are tightly packed, especially in slimline and integrated dishwashers. The appliance may also have a leak-detection tray and float switch, which can stop it operating and trigger a drain pump that runs continuously.
Common signs of an internal leak include water beneath the centre of the machine, a persistent humming or draining sound when it should be off, repeated error codes, or the dishwasher refusing to start after a leak. Tipping the appliance to empty water from the base can sometimes appear to cure the fault, but it only removes the symptom. The source of the leak remains and may return on the next cycle.
A technician can remove panels safely, trace the water path, test the pump and hoses, and confirm whether the repair is worthwhile. This is particularly valuable on Bosch, Miele, Neff and Siemens machines, where error codes and anti-flood systems can point towards several different faults.
Avoid repairs that create bigger problems
There are a few tempting shortcuts that are best avoided. Do not use silicone around the door seal, tape a split hose, bypass a float switch or keep restarting the machine after it has tripped the electrics. These actions can conceal the fault, damage other components and increase the risk of water damage.
Be cautious about pulling an integrated dishwasher out yourself. It may be secured to the worktop or adjacent cabinets, connected by short hoses, and fitted with a heavy cabinet door. If you cannot access the rear connections without forcing the appliance, stop there.
When to call a dishwasher repair engineer
A clean door seal, correctly loaded baskets and a loose external hose connection are reasonable checks for most households. Call for help when the leak is underneath the dishwasher, the door is misaligned, a hose is inaccessible, an error code appears, or water returns after basic checks.
For households in West London, CrownTech Appliances provides same-day, in-home dishwasher diagnosis with fixed-price quotes before repair work begins. A certified engineer can identify the failed component, use genuine compatible parts where required, and complete covered repairs with a 12-month written parts and labour warranty.
The practical rule is simple: clean and inspect the accessible areas, but do not keep testing a machine that is actively leaking. Turning it off early protects your kitchen, and getting the right diagnosis protects you from paying for parts that were never needed.